Editor’s note: This post is part of our weekly In the NVIDIA Studio series, which celebrates featured artists, offers creative tips and tricks, and demonstrates how NVIDIA Studio technology accelerates creative workflows.
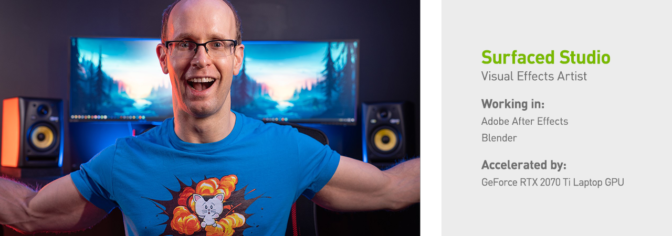
Visual effects savant Surfaced Studio steps In the NVIDIA Studio this week to share his clever film sequences, Fluid Simulation and Destruction, as well as his creative workflows.
These sequences feature quirky visual effects that Surfaced Studio is renowned for demonstrating on his YouTube channel.
 Surfaced Studio’s successful tutorial style, dubbed “edutainment,” features his wonderfully light-hearted personality — providing vital techniques and creative insights which lead to fun, memorable learning for his subscribers.
“I’ve come to accept my nerdiness — how my lame humor litters my tutorials — and I’ve been incredibly fortunate that I ended up finding a community of like-minded people who are happy to learn alongside my own attempts of making art,” Surfaced Studio mused.
The Liquification Situation
To create the Fluid Simulation sequence, Surfaced Studio began in Adobe After Effects by combining two video clips: one of him pretending to be hit by a fluid wave, and another of his friend Jimmy running towards him. Jimmy magically disappears because of the masked layer that Surfaced Studio applied.
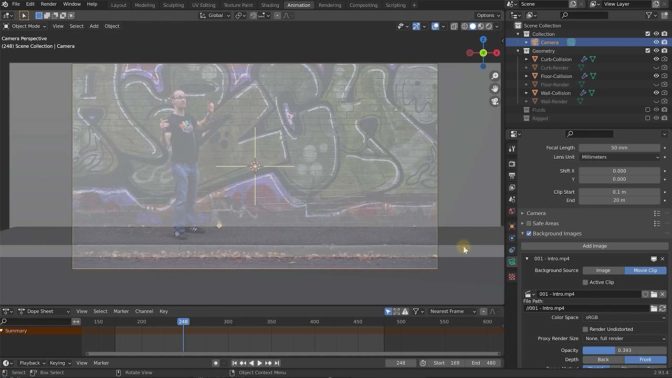
He then rendered the clip and imported it into Blender. This served as a reference to match the 3D scene geometry with the fluid simulation.
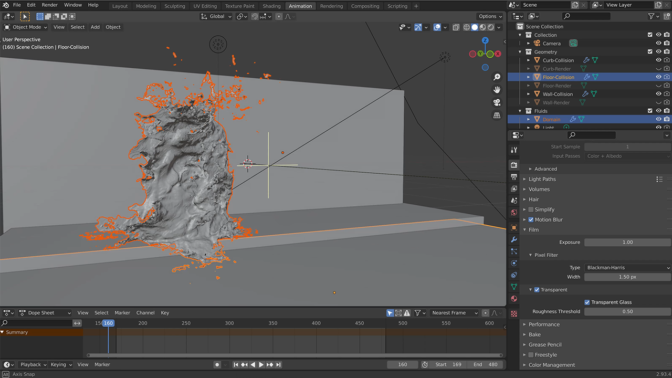
Surfaced Studio then selected the Mantaflow fluid feature, tweaking parameters to create the fluid simulation. For a beginner’s look at fluid simulation techniques, check out his tutorial, FLUID SIMULATIONS in Blender 2.9 with Mantaflow. This feature, accelerated by his GeForce RTX 2070 Laptop GPU, bakes simulations faster than with a CPU alone.
To capture a collision with accurate, realistic physics, Surfaced Studio set up rigid body objects, creating the physical geometry for the fluid to collide with. The Jimmy character was marked with the Use Flow property to emit the fluid at the exact moment of the collision.

“It’s hard not to recommend NVIDIA GPUs for anyone wanting to explore the creative space, and I’ve been using them for well over a decade now,” said Surfaced Studio.
Surfaced Studio also enabled speed vectors to implement motion blur effects directly on the fluid simulation, adding further realism to the short.
His entire 3D creative workflow in Blender was accelerated by the RTX 2070 Laptop GPU: the fluid simulation, motion blur effects, animations and mesh generation. Blender Cycles RTX-accelerated OptiX ray tracing unlocked quick interactive modeling in the viewport and lightning-fast final renders. Surfaced Studio said his GPU saved him countless hours to reinvest in his creativity.
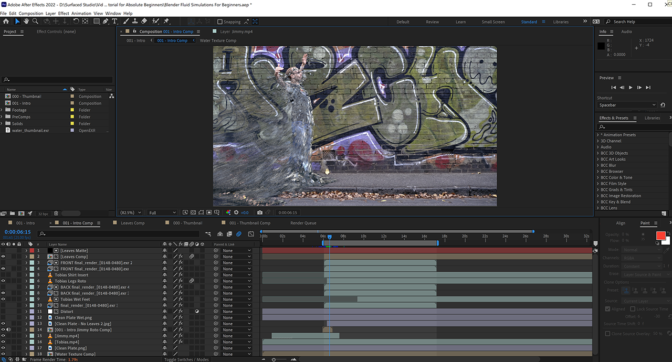
Surfaced Studio reached the composite stage in After Effects, applying the GPU-accelerated Curves effect to the water, shaping and illuminating it to his liking.
He then used the Boris FX Mocha AE plugin to rotoscope Jimmy — or create sequences by tracing over live-action footage frame by frame — to animate the character. This can be a lengthy process, but the GPU-accelerated plugin completed the task in mere moments.
Color touchups were applied with the Hue/Saturation, Brightness and Color Balance features, which are also GPU accelerated.
Finally, Surfaced Studio used the GPU-accelerated NVENC encoder to rapidly export his final video files.
For a deeper dive into Surfaced Studio’s process, watch his tutorial: Add 3D Fluid Simulations to Videos w/ Blender & After Effects.
“A lot of the third-party plugins that I use regularly, including Boris FX Mocha Pro, Continuum, Sapphire, Video Copilot Element 3D and Red Giant, all benefit heavily from GPU acceleration,” the artist said.
His GeForce RTX 2070 Laptop GPU worked overtime with this project — but the Fluid Simulation sequence only scratches the surface(d) of the artist’s skills.
Fire in the Hole!
Surfaced Studio built the short sequence Destruction following a similar creative workflow to Fluid Simulation. 3D scenes in Blender complemented video footage composited in After Effects, with realistic physics applied.
Destruction in Blender for Absolute Beginners covers the basics of how to break objects in Blender, add realistic physics to objects, calculate physics weight for fragments, and animate entire scenes.
3D Destruction Effects in Blender & After Effects offers tips and tricks for further compositing in After Effects, placing 2D stock footage in 3D elements, final color grading and camera-shaking techniques.
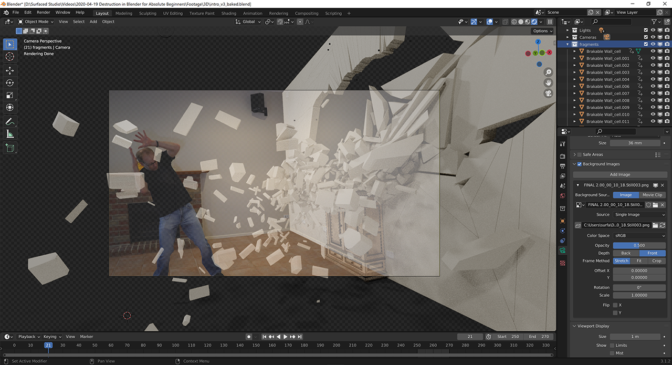
These tools set the foundation for aspiring 3D artists to build their own destructive scenes — and the “edutainment” is highly recommended viewing.
Follow NVIDIA Studio on Instagram, Twitter and Facebook. Access tutorials on the Studio YouTube channel and get updates directly in your inbox by subscribing to the NVIDIA Studio newsletter.
