
Editor’s note: This post is part of our weekly In the NVIDIA Studio series, which celebrates featured artists, offers creative tips and tricks, and demonstrates how NVIDIA Studio technology improves creative workflows. We’re also deep-diving on new GeForce RTX 40 Series GPU features, technologies and resources and how they dramatically accelerate content creation.
Releasing a 3D tutorial dubbed The Easiest VFX Tutorial Ever takes supreme confidence and the skills to back it up.
Steve Lund a.k.a. CG Geek — the featured artist of this week’s In the NVIDIA Studio installment — has both in spades. It’s no surprise that over 1 million people have subscribed to his YouTube channel, which features tutorials on animation and visual effects (VFX) as well as select tech reviews.
CG Geek has been a content creator for over 13 years, starting with videos on stop-motion animation before moving on to 3D software. Films and movies are his primary sources of inspiration. He grew up creating short films with his family — experimenting with and implementing video effects and 3D characters — which became a critical foundation for his current work.
Artists can strengthen their creative arsenal with the new Microsoft Surface Laptop Studio 2, available for pickup today. It’s powered by GeForce RTX 4060, GeForce RTX 4050 or NVIDIA RTX 2000 Ada Generation Laptop GPUs with 13th Gen Intel Core processors, up to 64GB of RAM and a 2TB SSD. It features a bright, vibrant 14.4-inch PixelSense Flow touchscreen, a 120Hz refresh rate, and Dolby Vision IQ and HDR to deliver sharper colors.

The Easiest VFX Tutorial Ever
CG Geek also happens to be a geek for Blender, free for 3D enthusiasts, who regularly create impressive, individualistic art.
“I love the amazing Blender 3D community,” he said. “Whenever you need inspiration or creative feedback, they’re the most helpful, kind and talented collective of ever-growing artists.”
CG Geek wanted to make a tutorial that could prove that virtually anyone could get started in VFX with relative ease, from anywhere, at any time.
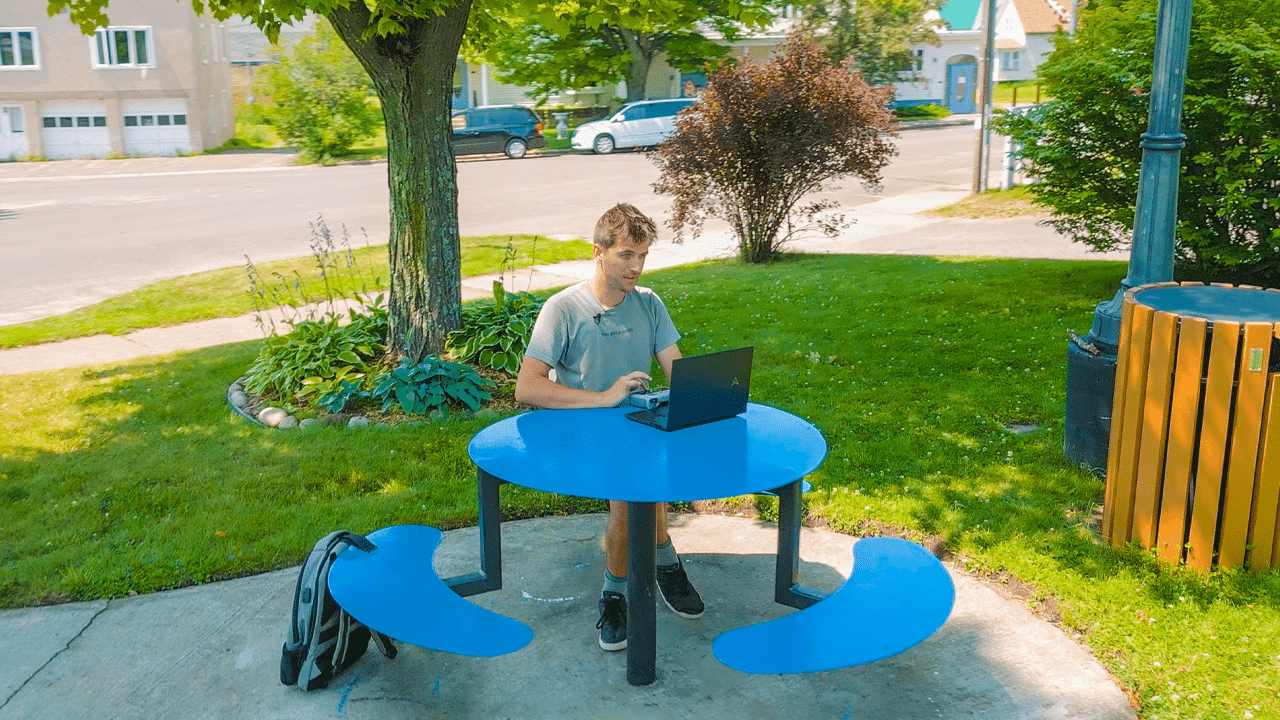
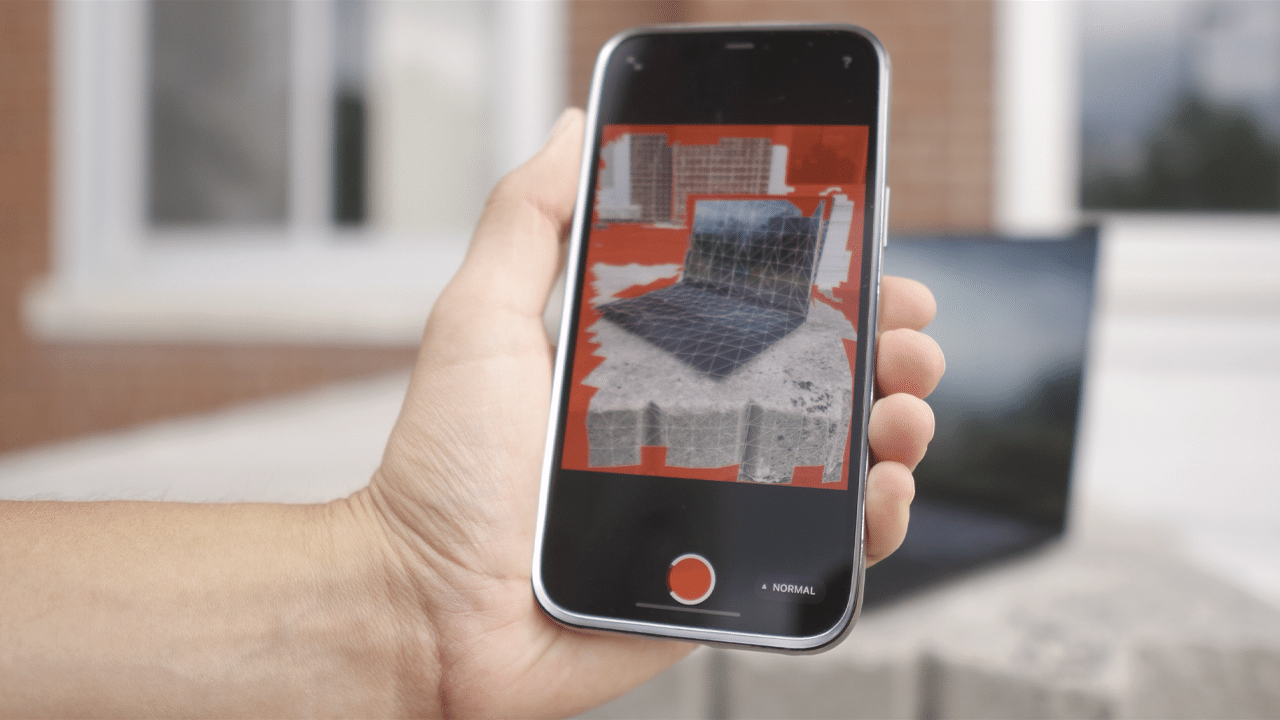
The first step, he instructs, is to capture video footage. To keep things simple, CG Geek recommends mounting a camera or mobile device to a tripod. Note that the camera lens determines the focal length and sensor size — critical details to input in Blender later in the process.

Keep a close eye on the video footage lighting for shadows and light intensity — it helps to snap a straight-down photo of the environment the 3D element will populate, namely for light bounces, to help create more realistic shadows.
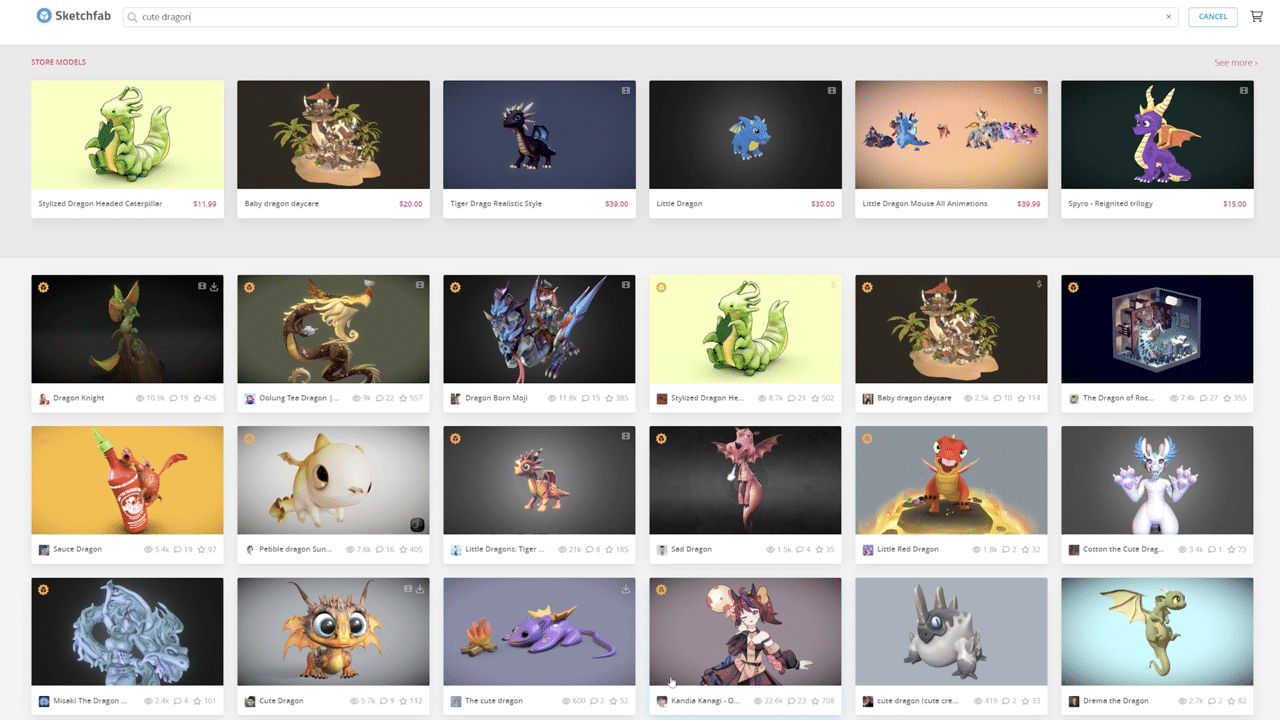
Next, secure a 3D model. Create one with guidance from an NVIDIA Studio blog or watch detailed tutorials on the Studio YouTube channel. Alternatively, look online for a 3D model equipped with basic physically based rendering materials, as well as a roughness and normal map.
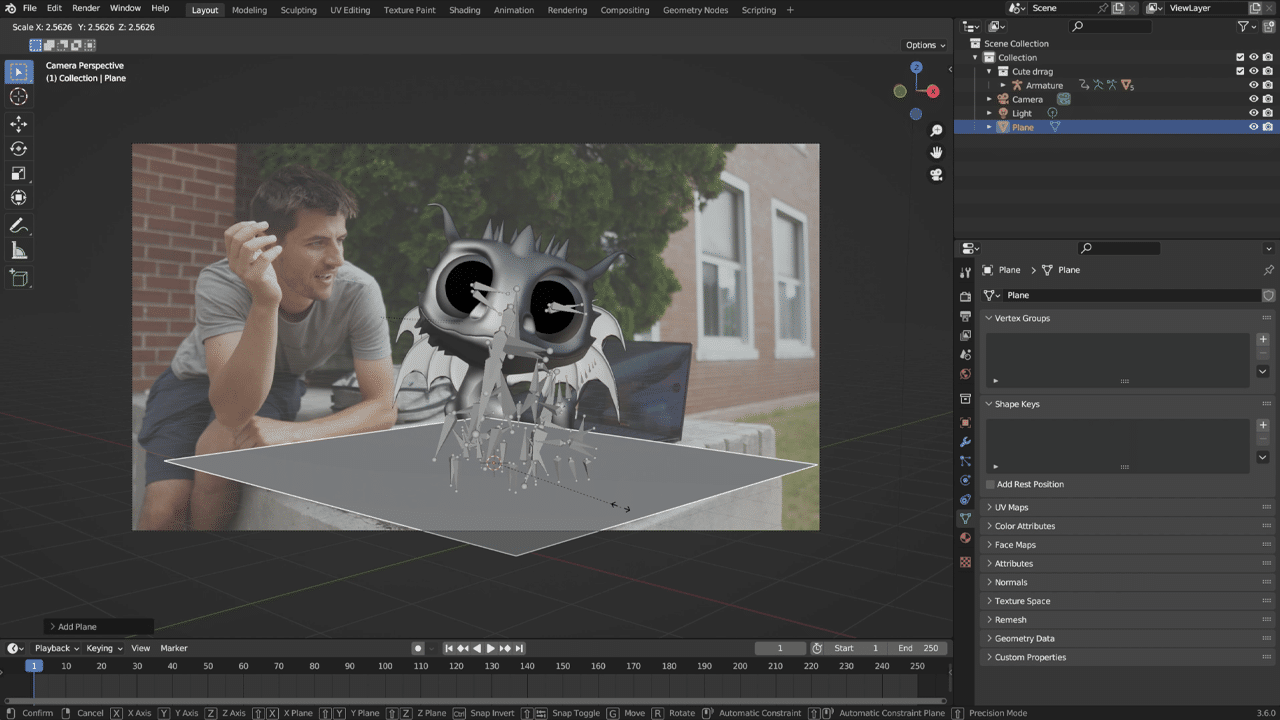
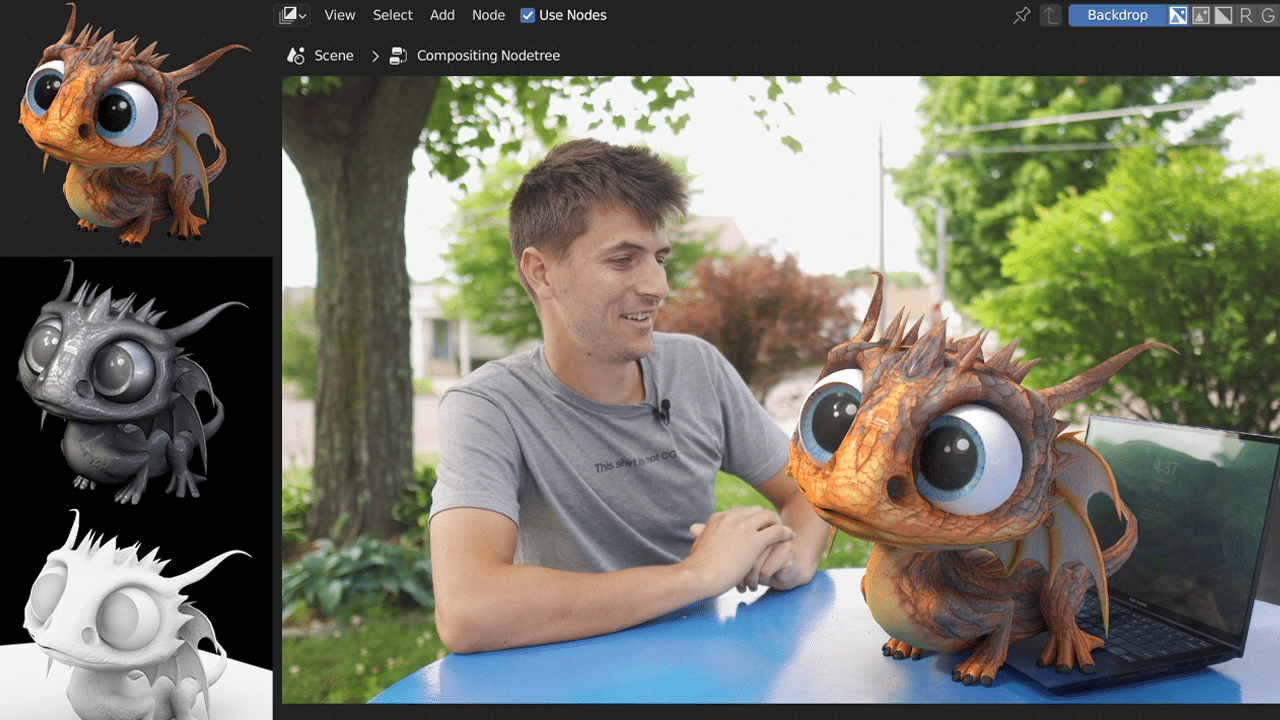
Next, combine the video footage and 3D materials. Open Blender, import the video footage and line up the 3D grid floor to the surface where the model will be presented. The 3D grid doubles as a shadow catcher that will grab the shadows being cast from the 3D elements. With an added texture, lighting will bounce back against the object, resulting in heightened realism.
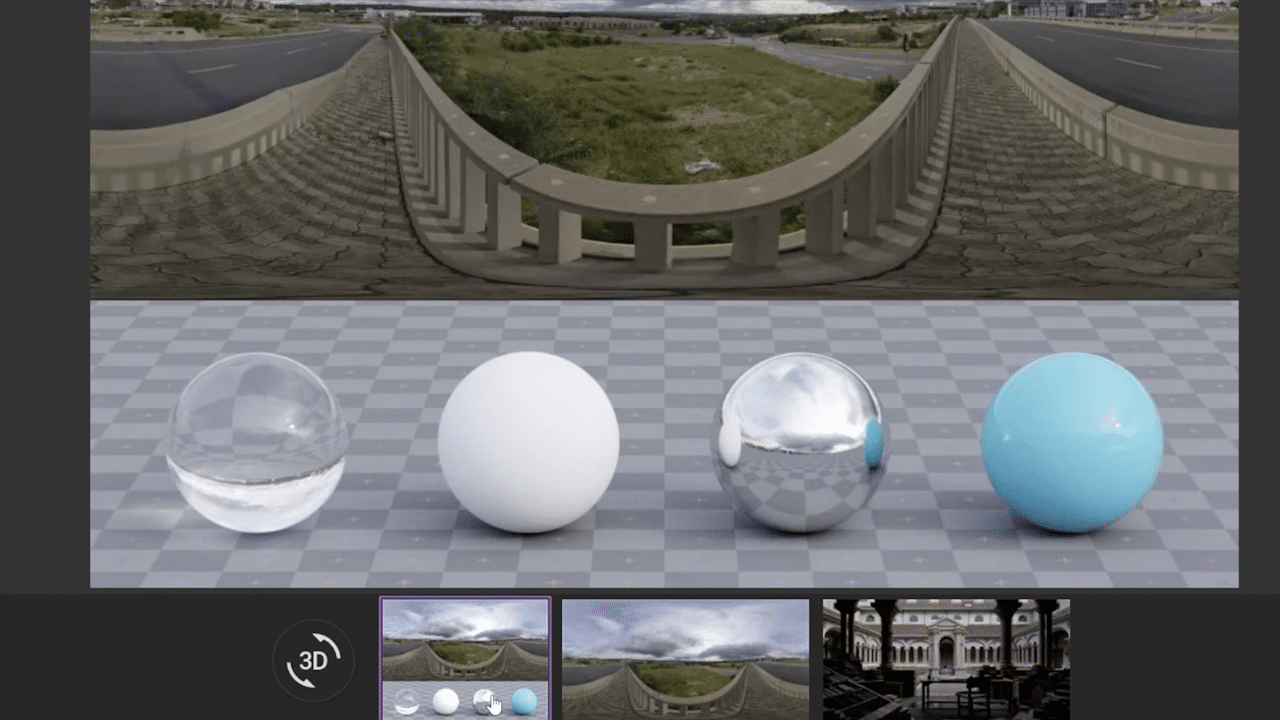
Then, light the 3D model to match the video footage. Most commonly, this is achieved by acquiring a high-dynamic range image (HDRI), a panorama with lighting data. CG Geek recommends Poly Haven for free, high-quality HDRIs. The key is picking one that resembles the lighting, color, shadow and intensity of the video footage.
Use the HDRI lighting to align the sun’s rotation with the shadows of the footage, adding further realism.
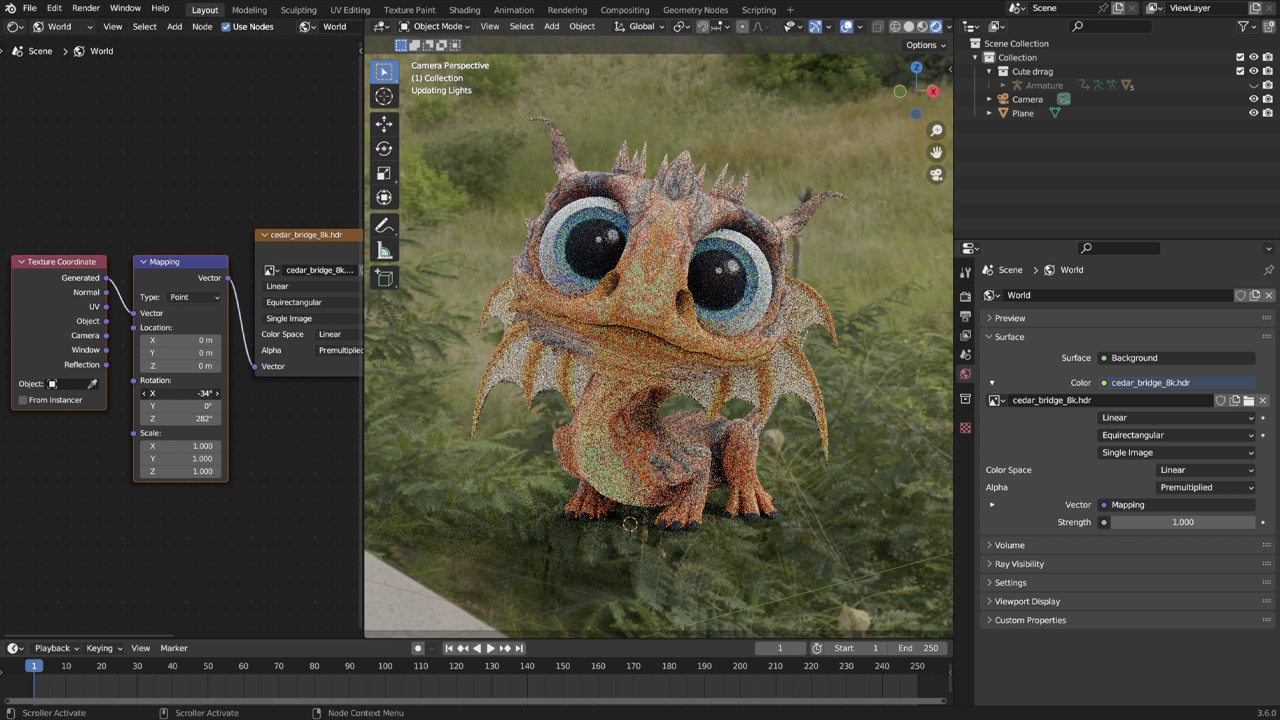
From there, import camera information into Blender and render out passes for the 3D model over a transparent background in Cycles. Create as many render layers as possible for added post-render editing flexibility, especially in compositing. Shadowcatcher, glossy passes, Z depth and ambient occlusion layers are recommended for advanced users.
These layers can then be combined in popular creative apps like Adobe Premiere Pro, After Effects, Blackmagic Design’s DaVinci Resolve or any of the over 100 NVIDIA RTX GPU-accelerated apps. This workflow, in particular, will be completed in Blender’s custom compositor.
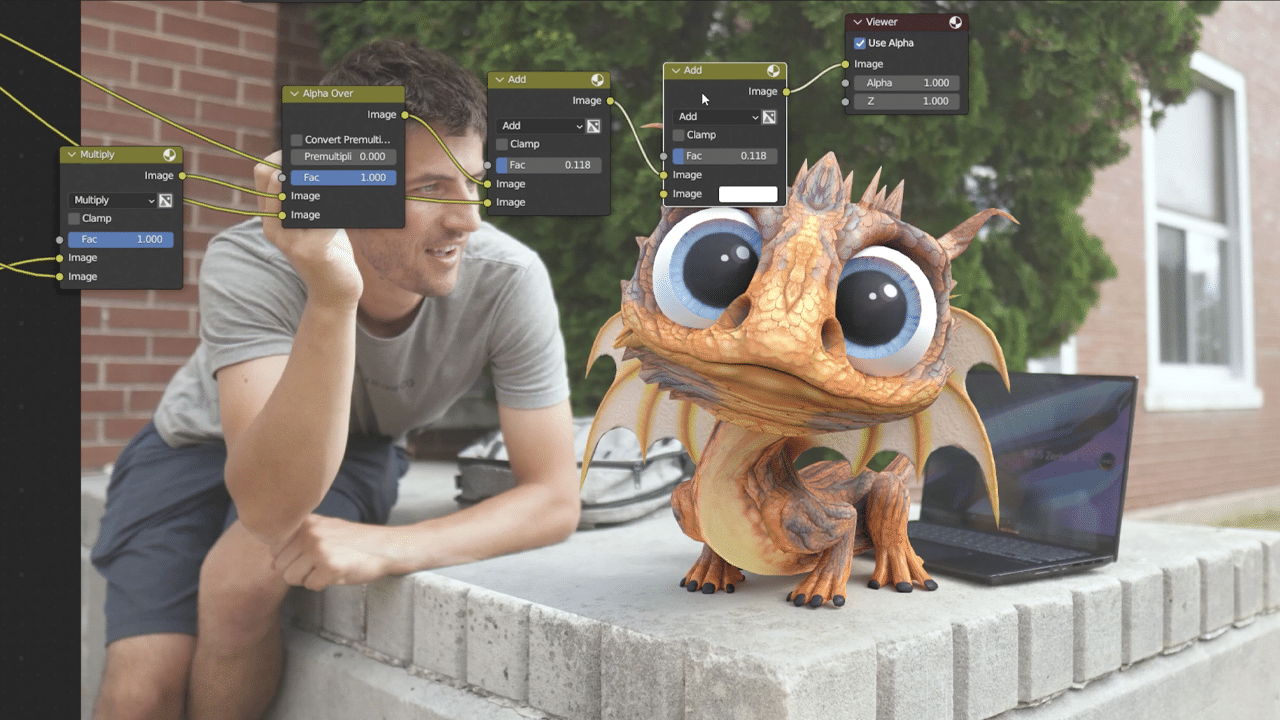
Add shadows to the live footage with a multiple overlay. Then, carry over the 3D elements render layer to adjust the intensity of the shadows, helping them mesh better with the video capture. Individual layers can be edited to match the desired tone.
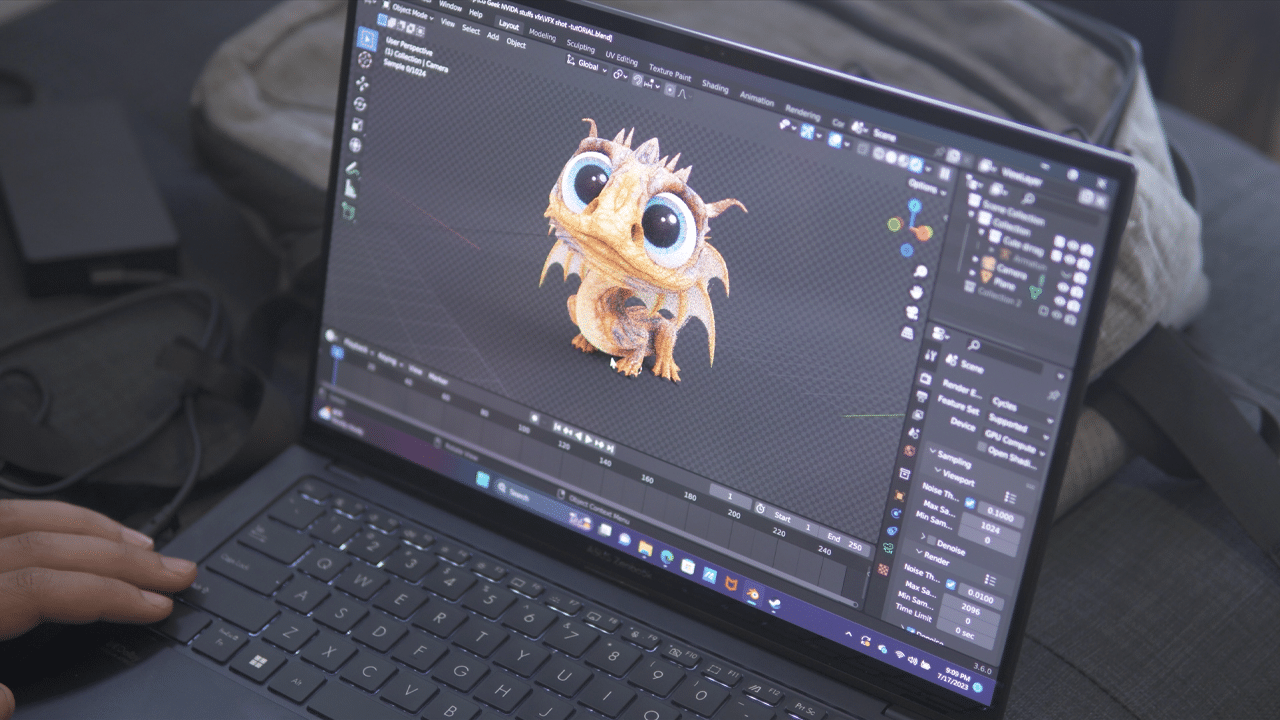
CG Geek made use of Blender Cycles’ RTX-accelerated OptiX ray tracing in the viewport. “Rendering in Cycles with multiple render layers and passes, along with the NVIDIA OptiX Denoiser, made animations and early tests a breeze,” he said.
“All my rendering changes can be visualized in real time thanks to the power of NVIDIA Studio before ever even hitting that button.” – CG Geek
Finally, perform simple masking on areas where the 3D model passes in front of or behind objects. CG Geek’s one-minute YouTube tutorial can help guide this process. DaVinci Resolve or Premiere Pro’s AI-powered magic mask features can further speed the process by automatically masking background elements, saving the effort of painstakingly editing videos frame by frame.
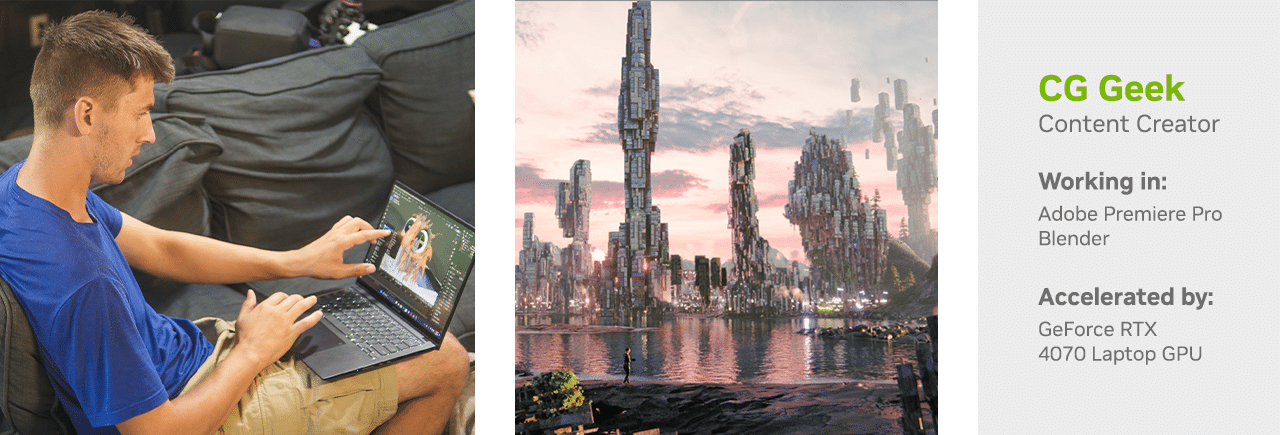
These AI features are all accelerated by the GeForce RTX 4070 GPU equipped in CG Geek’s ASUS Zenbook 14 NVIDIA Studio laptop.
“NVIDIA Studio laptops powered by RTX GPUs are great for portability and speed in a compact form factor.” – CG Geek
For CG Geek, getting reps in, making mistakes and strengthening weaknesses are the keys to evolving as an artist. “Don’t get hung up on the details!” he stressed. “Give yourself a deadline and then get started on another project.”
For more on the basics of 3D VFX and CGI with Blender, accelerated by the NVIDIA Studio platform and RTX GPUs, watch his featured five-minute tutorial.
Check out CG Geek on YouTube.
Follow NVIDIA Studio on Instagram, Twitter and Facebook. Access tutorials on the Studio YouTube channel and get updates directly in your inbox by subscribing to the Studio newsletter.